Features:
- Scene Scripting System
- Texture System
- Material System
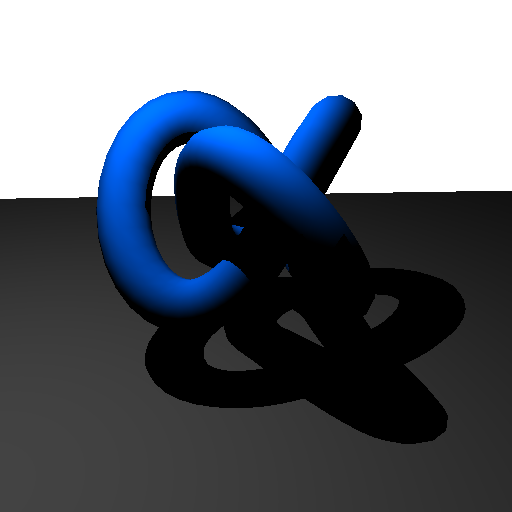
- Shadows
- Anti-Aliasing
- Depth of Field
- Area Lights
- Path Tracing
Scene Scripting System
I wanted to make Dart data-driven as much as possible, so early on I implemented a script to describe the scenes for rendering. This was extremely helpful for me as it gave me faster iteration times (no need to recompile the code to change the shader of the model), allowed me to set up lots of scenes without having to touch code, and gave me the chance to implement a pair of advanced systems for texturing and materials.
Most everything in Dart is controllable via the Dart Scene File (*.dsf) that is parsed in. You, of course, have to give the file path to the scene file in the command line arguments or else no scene will be loaded.
With the scripting system in place I was able to completely expose the way that my renderer handled texturing and materials. Via script I am able to designate a texture mapping projection onto an object within the scene.
Sample Script:
# Teapot Scene
#----------------------------------

# scene
Scene.accelStructure	= bvh

# image
Image.width			= 512
Image.height		= 512
Image.bgcolor		= 0.0, 0.0, 0.2

Image.antialiasing	= false
Image.antialiasingGrid	= 4

Image.renderShadows	= false


# camera
Camera.eye		= 0.0,  3.0,  6.0
Camera.dir		= 0.0, -3.0, -6.0
Camera.up		= 0.0,  1.0,  0.0
Camera.fov		= 45.0


# OpenGL
OpenGL.bgcolor		= 0.0, 0.0, 0.2
OpenGL.objectColor	= 1.0, 1.0, 1.0
OpenGL.normalColor	= 0.2, 0.8, 0.8
OpenGL.normalScalar	= 0.2


# Lights
#----------------------------------

PointLight
{
position	= 10.0, 10.0, 10.0
color		=  1.0,  1.0, 1.0
wattage		=  700.0
}


# Materials
#----------------------------------

Lambert : TeapotMaterial
{
diffuse		= 1.0, 1.0, 1.0
ambient		= 0.0, 0.0, 0.0
}

Lambert : FloorMaterial
{
diffuse		= 1.0, 1.0, 1.0
ambient		= 0.0, 0.0, 0.0
}


# Objects
#----------------------------------

TriangleMesh
{
material 	= TeapotMaterial
filepath 	= "../../Assets/Models/teapot.obj"
}

Triangle
{
material	= FloorMaterial

v0		= -10.0, 0.0, -10.0
v1		=   0.0, 0.0,  10.0
v2		=  10.0, 0.0, -10.0

n0		= 0.0, 1.0, 0.0
n1		= 0.0, 1.0, 0.0
n2		= 0.0, 1.0, 0.0
}
Texture System
In the code, I implemented a factory to keep track of the textures created within a scene so that they may be reused across multiple triangle meshes if so desired.
My renderer supports both procedural and image textures. Since the texturing system is exposed in the scripting system, procedural textures can be created and modified there to allow for a much more general way of generating the textures. In other words, the wood texture, for example, is simply a function that takes in the parameters read in from script so the same wood texture functionality may be used to produce very different wood textures (exemplified below).
Solid Colors
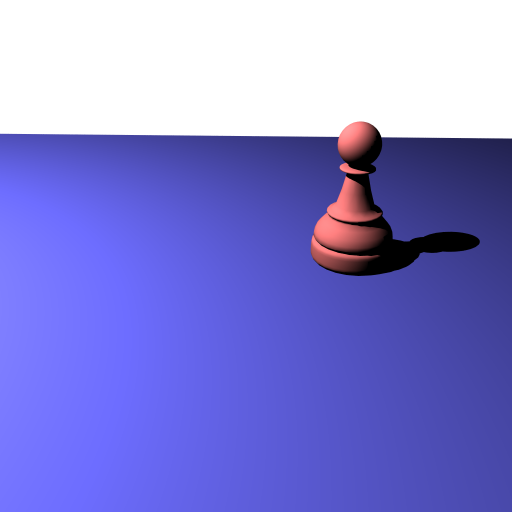
|
SolidColorTexture : SolidRedTexture
{
color			= 0.8, 0.4, 0.4
}

SolidColorTexture : SolidBlueTexture
{
color			= 0.3, 0.3, 0.7
}
|
Stripes
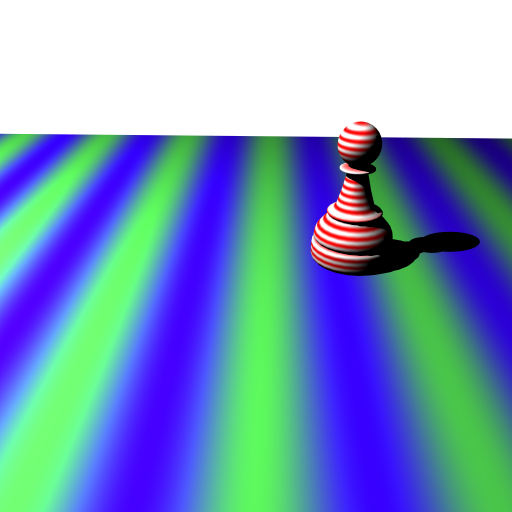
|
StripeTexture : CandyCaneStripesTexture
{
colorA			= 1.0, 1.0, 1.0
colorB			= 1.0, 0.0, 0.0
stripewidth		= 0.04
stripeAxis		= y
}

StripeTexture : BlueGreenStripesTexture
{
colorA			= 0.3, 0.8, 0.3
colorB			= 0.2, 0.0, 1.0
stripewidth		= 0.8
stripeAxis		= z
}
|
Gradient
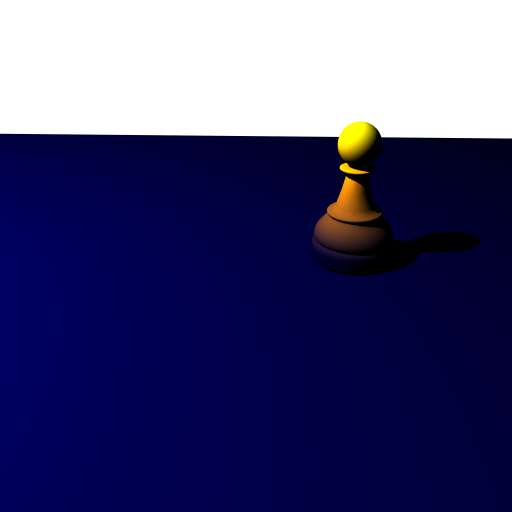
|
GradientTexture : HeatGradientTexture
{
colorA			= 0.0, 0.0, 0.2
colorB			= 1.0, 0.57, 0.0
minElevation		= 0.15
maxElevation		= 1.0
}

# NOTE:
# same texture is used for both meshes
|
Checker

|
CheckerTexture : RedWhiteCheckeredTexture
{
colorA			= 1.0, 0.0, 0.0
colorB			= 1.0, 1.0, 1.0
checkWidth		= 0.25
checkHeight		= 0.25
checkDepth		= 0.25
}

CheckerTexture : BlackWhiteCheckeredTexture
{
colorA			= 1.0, 1.0, 1.0
colorB			= 0.0, 0.0, 0.0
checkWidth		= 2.05
checkHeight		= 1.0
checkDepth		= 2.05
}
|
Noise

|
NoiseTexture : NoiseLevel1Texture
{
baseColor		= 0.4, 0.4, 0.6
noiseColor		= 0.0, 0.0, 0.0
scale			= 7.0
}

NoiseTexture : NoiseLevel2Texture
{
baseColor		= 0.0, 0.0, 0.0
noiseColor		= 1.0, 1.0, 0.0
scale			= 10.0
}
|
Wood
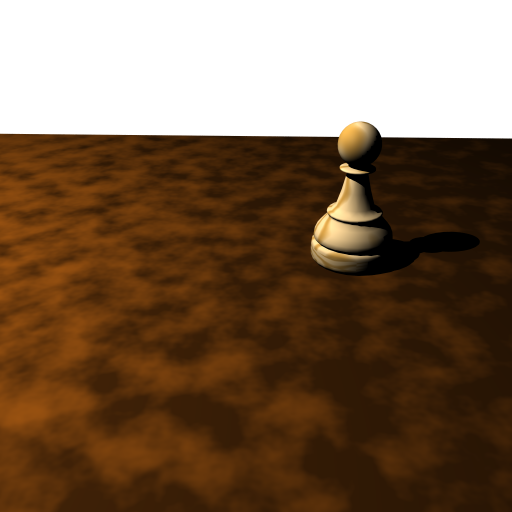
|
WoodTexture : RingWoodTexture
{
baseColor		= 0.8, 0.68, 0.48
ringColor		= 0.54, 0.35, 0.04
amplitude		= 0.6
frequency		= 17.0
octaveCount		= 1
ringAxis		= z
}

WoodTexture : WoodChessBoardTexture
{
baseColor		= 0.17, 0.09, 0.02
ringColor		= 0.54, 0.29, 0.06
amplitude		= 0.6
frequency		= 1.7
octaveCount		= 4
ringAxis		= y
}
|
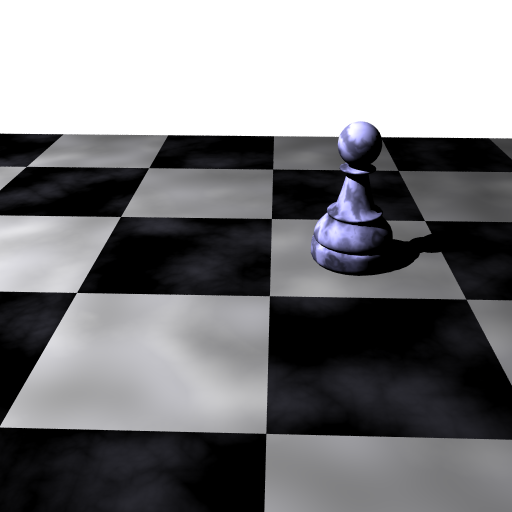
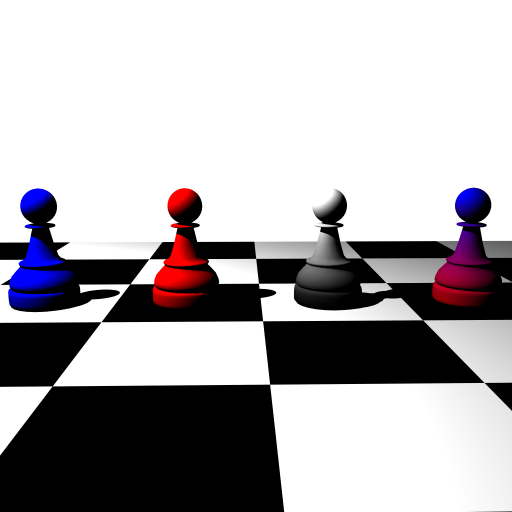
Marble
|
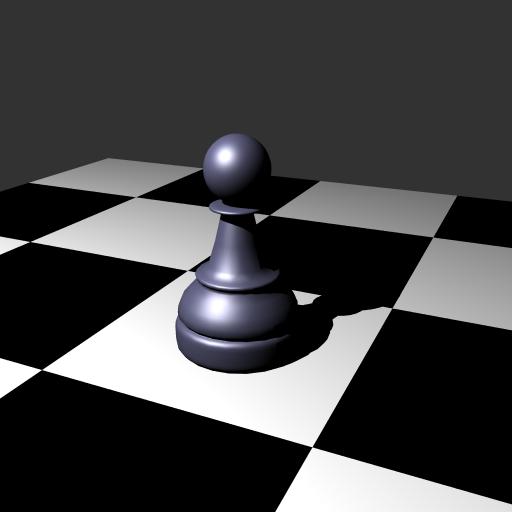
MarbleTexture : PawnMarbleLowerLayerTexture
{
veinColor		= 0.3, 0.3, 0.4
baseColor		= 0.05, 0.05, 0.05
amplitude		= 2.5
frequency		= 3.6
octaveCount		= 4
veinAxis		= x
veinCount		= 1
}

MarbleTexture : PawnMarbleUpperLayerTexture
{
veinColor		= 0.2, 0.2, 0.3
baseColor		= 0.4, 0.4, 0.6
amplitude		= 4.2
frequency		= 4.6
octaveCount		= 4
veinAxis		= x
veinCount		= 1
}

SumTexture : PawnMarbleTexture
{
textureA		= PawnMarbleLowerLayerTexture
textureB		= PawnMarbleUpperLayerTexture
}
|
Image

|
ImageTexture : ConfigBitmapTexture
{
filepath 	= "../../Assets/Textures/ConfigTexture512.bmp"
filtering	= bilinear
}
|
Operators
I wanted to really pour a lot into this part of my renderer since it’s one of the most useful parts and because what I wanted to make as a final scene was going to require some “advanced” features in this area. In particular, I wanted a way to easily combine textures that I either created or imported in a couple different manners: Sum, Product, and Modulation.
Sum Texture
A SumTexture takes in two input textures and adds their lookup results. I also added weights in order to scale their contributions before the addition:
outColor = (texWeightA * texColorA) + (texWeightB * texColorB)
Sum Texture: Sum Two Solid Color Textures
|
SolidColorTexture : SolidBlueTexture
{
color		= 0.0, 0.0, 0.8
}

SolidColorTexture : SolidRedTexture
{
color		= 0.8, 0.0, 0.0
}

SumTexture : SumBlueRedTexture
{
textureA	= SolidBlueTexture
textureB	= SolidRedTexture
}
|
Sum Texture: Sum Two Striped Textures
|
StripeTexture : BlueGreenStripesTexture
{
colorA		= 0.3, 0.8, 0.3
colorB		= 0.2, 0.0, 1.0
stripewidth	= 0.04
stripeAxis	= z
}

StripeTexture : CandyCaneStripesTexture
{
colorA		= 1.0, 1.0, 1.0
colorB		= 1.0, 0.0, 0.0
stripewidth	= 0.04
stripeAxis	= y
}

SumTexture : SumBlueGreenCandyCaneTexture
{
textureA	= BlueGreenStripesTexture
textureB	= CandyCaneStripesTexture
}
|
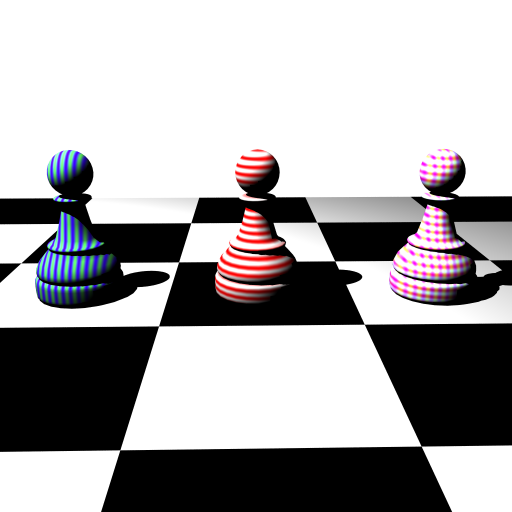
Product Texture
A ProductTexture takes in two input textures and multiplies their lookup results. Again, I also added weights in order to scale their contributions before the addition:
outColor = (texWeightA * texColorA) * (texWeightB * texColorB)
Product Texture: Product Two Striped Textures

|
StripeTexture : BlueGreenStripesTexture
{
colorA		= 0.3, 0.8, 0.3
colorB		= 0.2, 0.0, 1.0
stripewidth	= 0.04
stripeAxis	= z
}

StripeTexture : CandyCaneStripesTexture
{
colorA		= 1.0, 1.0, 1.0
colorB		= 1.0, 0.0, 0.0
stripewidth	= 0.04
stripeAxis	= y
}

ProductTexture : ProductBlueGreenCandyCaneTexture
{
textureA	= BlueGreenStripesTexture
textureB	= CandyCaneStripesTexture
}
|
|
StripeTexture : CandyCaneStripesTexture
{
colorA		= 1.0, 1.0, 1.0
colorB		= 1.0, 0.0, 0.0
stripewidth	= 0.04
stripeAxis	= y
}

StripeTexture : BlueStripesTexture
{
colorA		= 0.0, 0.0, 1.0
colorB		= 1.0, 1.0, 1.0
stripewidth	= 0.07
stripeAxis	= y
}

ProductTexture : ProductCandyCaneBlueTexture
{
textureA	= CandyCaneStripesTexture
textureB	= BlueStripesTexture
}
|
Modulation Texture
A ModulatedTexture takes in two input textures and linear interpolates their lookup results via another texture (this works great when combined with the gradient textures):
outColor = (modulatorTexColor * texColorA) + ((1.0-modulatorTexColor) * texColorB)
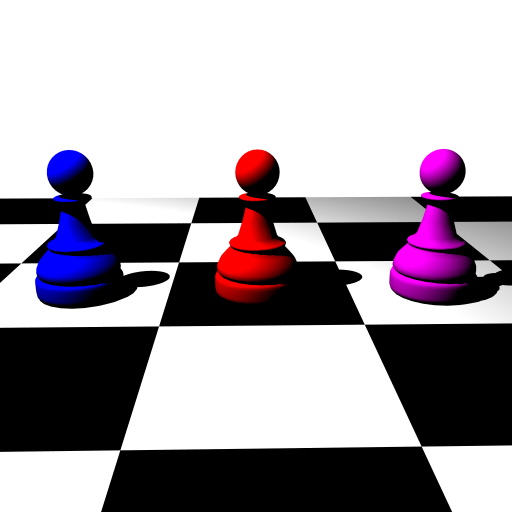
Modulation Texture: Solid Color Textures modulated by Gradient Texture
|
SolidColorTexture : SolidBlueTexture
{
color		= 0.0, 0.0, 0.8
}

SolidColorTexture : SolidRedTexture
{
color		= 0.8, 0.0, 0.0
}

GradientTexture : GradientTexture
{
colorA		= 0.0, 0.0, 0.0
colorB		= 1.0, 1.0, 1.0
minElevation	= 0.0
maxElevation	= 1.5
}

ModulatedTexture : ModulatedBlueRedTexture
{
textureA	= SolidBlueTexture
textureB	= SolidRedTexture
modulator	= GradientTexture
}
|
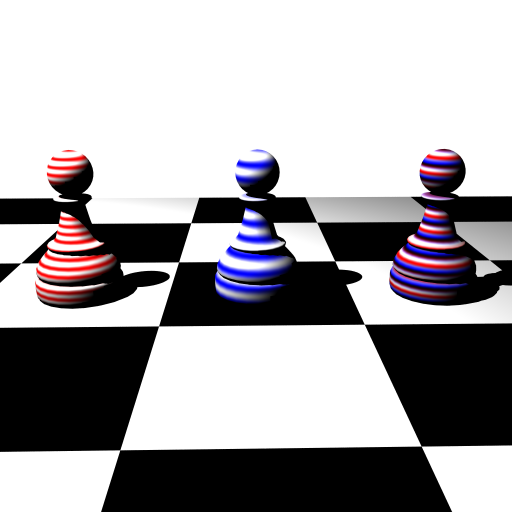
Modulation Texture: Stripe Textures modulated by Checker Texture

|
StripeTexture : BlueGreenStripesTexture
{
colorA		= 0.3, 0.8, 0.3
colorB		= 0.2, 0.0, 1.0
stripewidth	= 0.04
stripeAxis	= z
}

StripeTexture : CandyCaneStripesTexture
{
colorA		= 1.0, 1.0, 1.0
colorB		= 1.0, 0.0, 0.0
stripewidth	= 0.04
stripeAxis	= y
}

CheckerTexture : BlackWhiteCheckeredTexture
{
colorA		= 0.0, 0.0, 0.0
colorB		= 1.0, 1.0, 1.0
checkWidth	= 0.25
checkHeight	= 0.25
checkDepth	= 0.25
}

ModulatedTexture : ModulatedStripesTexture
{
textureA	= BlueGreenStripesTexture
textureB	= CandyCaneStripesTexture
modulator	= BlackWhiteCheckeredTexture
}
|
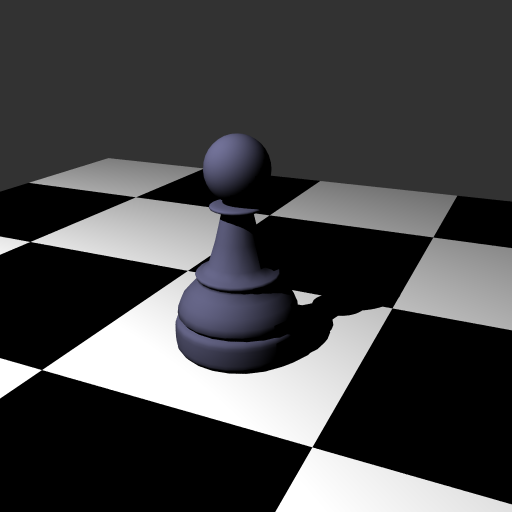
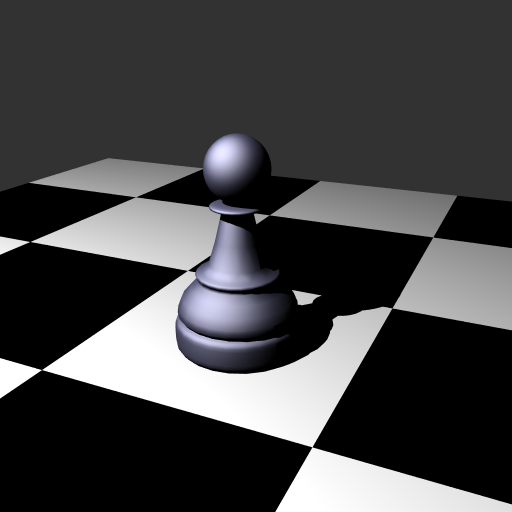
Material System
Like the textures, I implemented a factory to keep track of the materials created within a scene so that they may be reused across multiple triangle meshes if so desired. The materials available are:
- Lambert
- Blinn-Phong
- Phong
- Isotropic Ward
- Anisotropic Ward
- Cook-Torrance
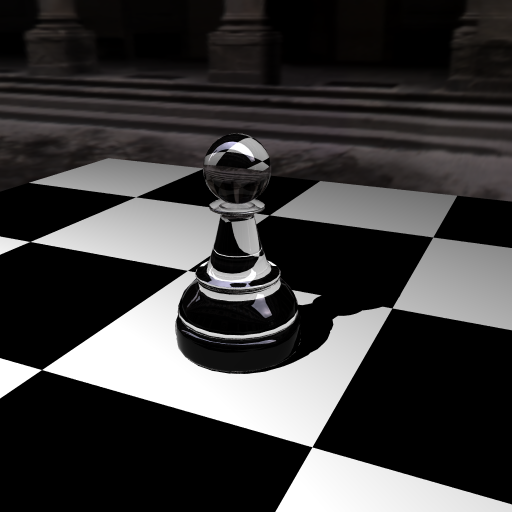
- Dielectric
- Local Illumination
In order to connect the textures available in the texturing system with the lighting models offered by the materials, I created a TextureMaterial which looks of the diffuse reflectance color in the associated texture.
Furthermore, I added a couple of “operation” textures that allow me to combine materials and textures into a single material. The MixedMaterial takes a weighted average of the colors returned by the two input materials (the weights are exposed in the scripting system for custom weighting). The MultiplyMaterial takes in three input materials: two materials for combining, and a control material with which it performs a linear interpolation. This is extremely useful when used in combination with a gradient texture to let a certain material show through at one elevation and gradually fade into another material.
 |
 |
 |
 |
 |
 |
 |
 |
Shadows
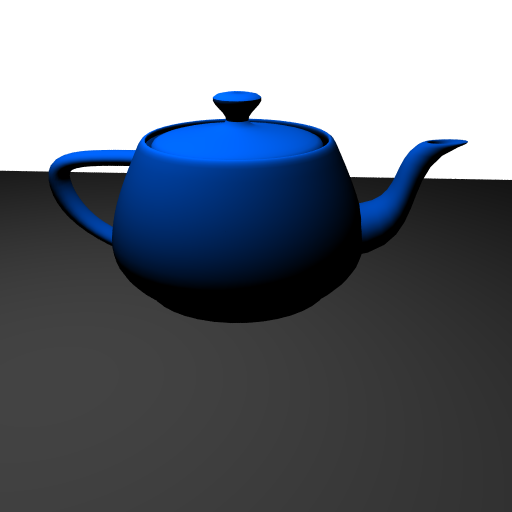 |
|
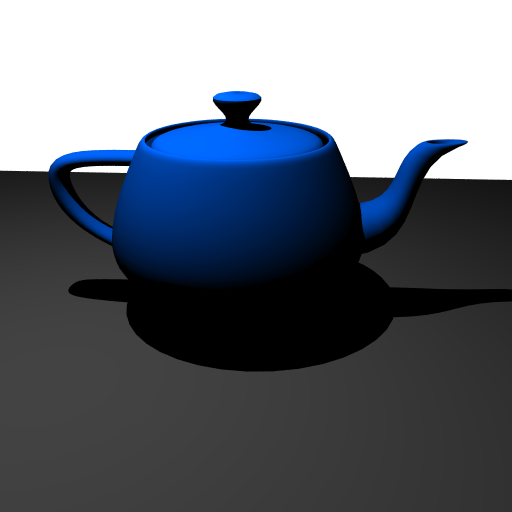 |
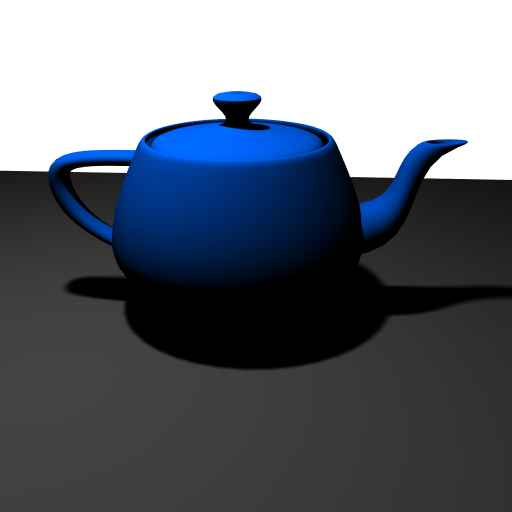 |
Anti-Aliasing
It’s should be pretty obvious that super-sampling is very high on my list of important effects in a renderer: I’ve had anti-aliasing since Assignment 1. No doubt, it makes a world of difference!
 |
 |
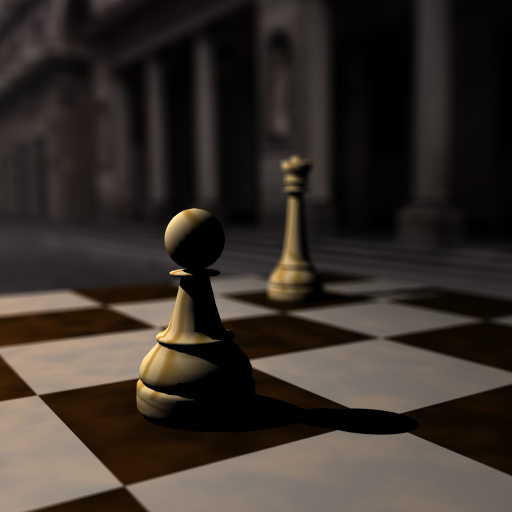
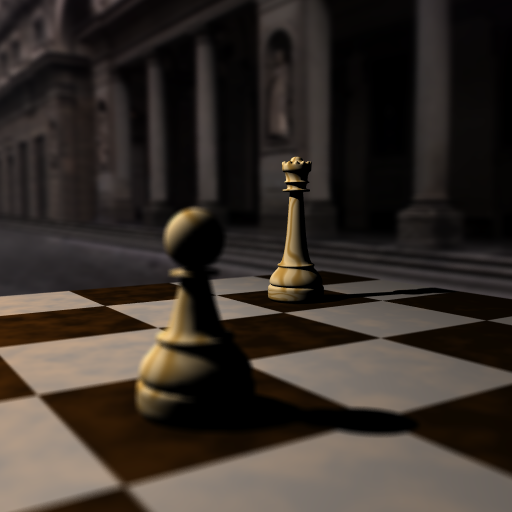
Depth of Field
Depth of field is an effect that has really changed the way that I think about placing my “shots”. Though I added it near the end it has played a key role in how I decide where I set my camera and how I want to direct the focus of the audience (quite literally!).
 |
|
 |
 |
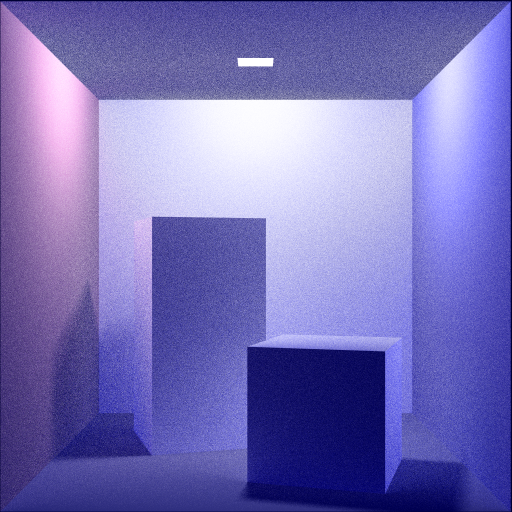
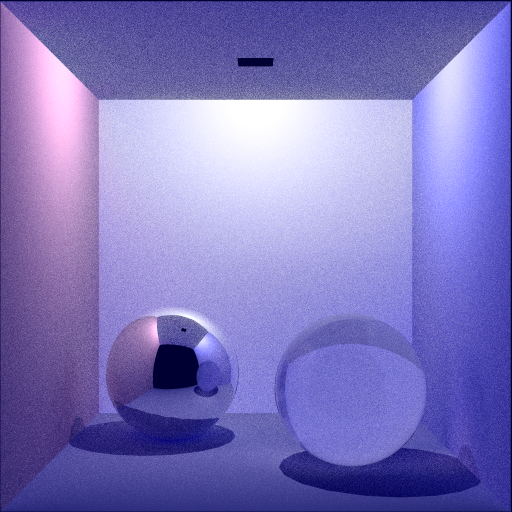
Area Lights
I added two types of area lights to my renderer: spherical (SphereLight) and rectangular (AreaLight). The dimensions and power (in watts) are exposed in the scripting system and allow for very nice soft shadows when used and shadows are turned on.
Path Tracing
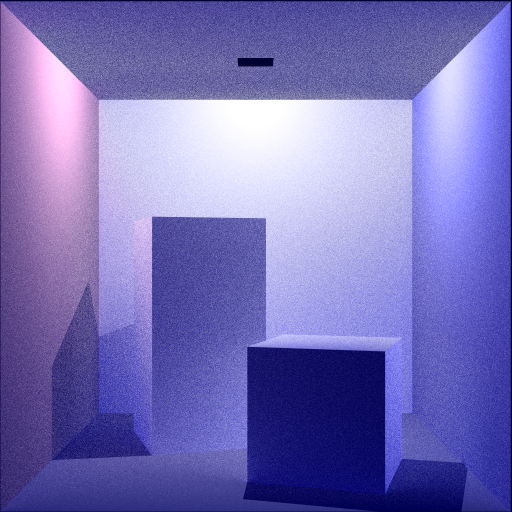 Rays Per Pixel: 100 Max Ray Depth: 10 |
 Rays Per Pixel: 100 Max Ray Depth: 10 |
 Rays Per Pixel: 100 Max Ray Depth: 10 |
 Rays Per Pixel: 100 Max Ray Depth: 10 |